Showing posts with label free pattern. Show all posts

Monday, April 18, 2011

Baby Ridge Hat


This is probably my favorite hat so far.  I made a similar one for my older brother that was all green.  So, when I made a baby hat version I just added some fun colors to it.


I figured the baby would be wearing it in the fall, so I chose fall colors for this one.


Above are the colors that are in between the brown ridges, that you cannot see on the first picture.  But when the baby wears it, the hat will stretch out to where they can be seen.


Monday, April 11, 2011

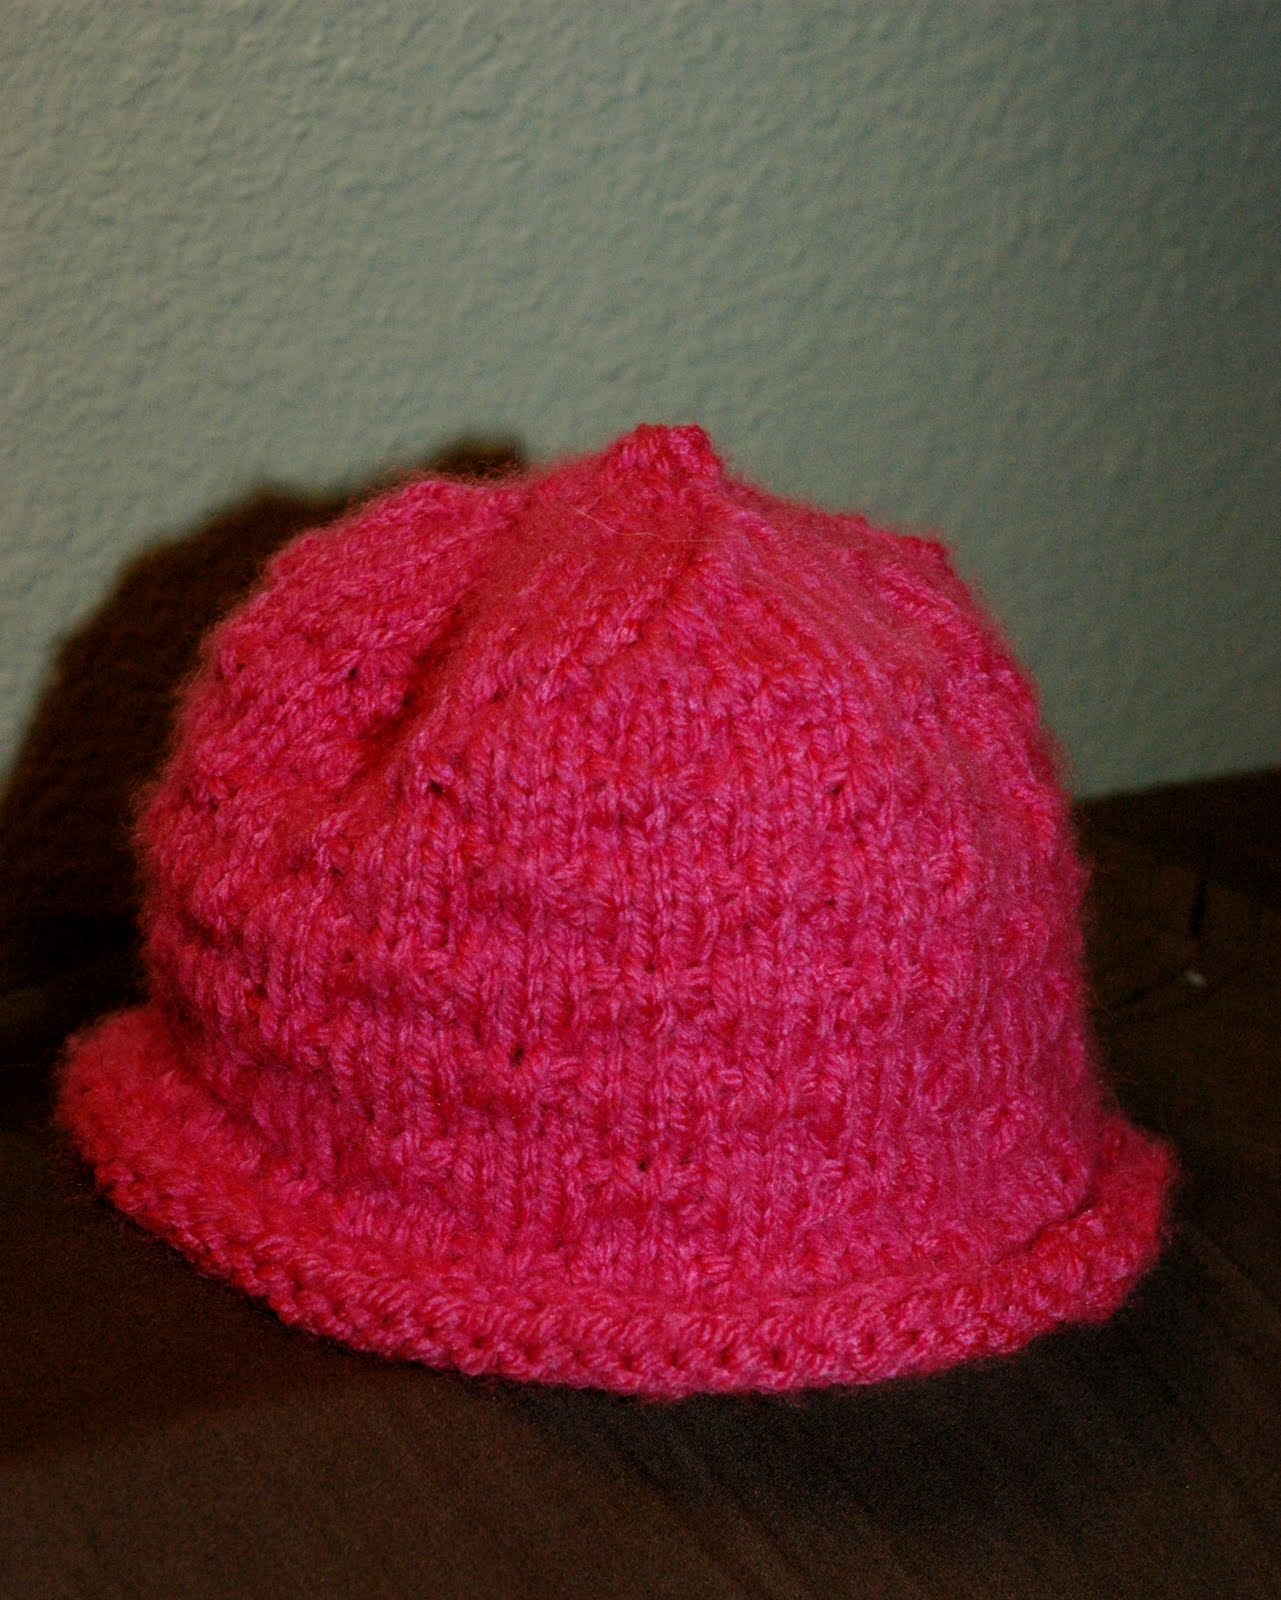
Baby Basketweave Hat

Basketweave Hat I made for Baby

Here is one of the many hats I made for the baby.  It is such a cute design.  I found the pattern online here.  Her hat looks a little differnt than mine, b/c I used different size needles and she used a shinier yarn.  And I love the shine, but I didn't want to make it shiny just in case I had a boy.  He may not appreciate that from Mommy very much.

Basketweave Detail

Tuesday, March 22, 2011

Garter Stitch Blankets

This is probably the easiest blanket to make EVER!  All you do is garter stitch the whole way around, changing colors when you want or not.  I've made two blankets this way.  One is for me and the other for the baby.
The purple and green blanket is mine and the black and white blanket is for baby.

 On my blanket, the "purple" is an eggplant purple and the "green" is a slightly dark olive green.  My blanket is big enough to cover most of my body.  The baby's blanket is about half that size.  So needles to say, my blanket took a lot longer to make.

Left:  P&g blanket showing no right/wrong side with funky color row
Right: B&w blanket showing right side with NO funky color row.

Also, something different I did between the two.  Is on the purple and green blanket there was no right/wrong side like there is with most color-change garter stitching.  As, seen in the picture above there is an odd number of rows in the p&g blanket and an even amount in the b&w.   I did this, because there is always a row of stitching in the row that the yarn colors are changed that looks a bit funky.  So on the p&g blanket that funky row is on both sides.  You can't even tell, because the width of the color bands are large and the color contrast isn't that great.  But on the b&w blanket the colors had such a strong contrast and the color bands were so small, that I felt there needed to be a wrong side to where all the funky color rows would be (see picture below).  Leaving the right side with no funky color bands (see picture above).

Wrong side of b&w blanket.

So, you really just need to think about what you want on your blanket, keeping in mind color band width and color contrast.  I really like the cool colors on my blanket.  They make me happy!  But I'm glad I made the baby's blanket such a strong color contrast of b&w, because I learned that babies basically see in strong contrasts only when they are newborn.  The yarn is super soft as well, so hopefully the baby will love this blanket!

Friday, March 11, 2011

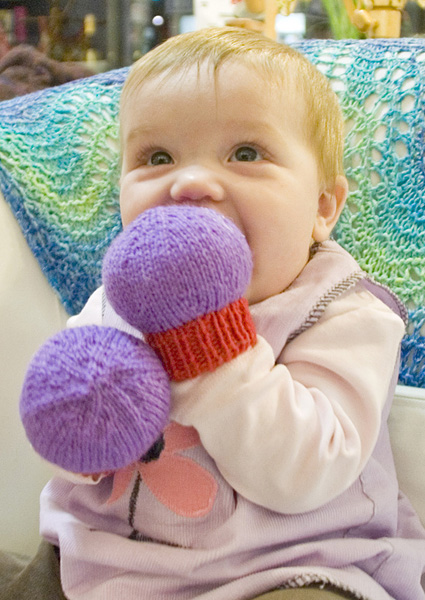
Mommy-Baby Mittens

The pattern writer's baby.

This is a pattern I found that just made me laugh! They are mittens that actually do serve as mittens, but are just funny looking.  In all honesty, I made these more for myself than the baby. So hopefully, the baby will like them, too. 

The mittens I made!

The mittens I made are kinda gender-neutral colors.  I am so excited about these, yau'll......It is a bit sad.


If you are a nerd like me and love these, you can find the pattern here.


Friday, March 4, 2011

Booties Galore!

For the past few months, I have been on a baby knitting kick.  It all started with the baby blanket that I still haven't finished....ARGG!  And continued with fun things like booties.  These booties are a really easy pattern that I got here.

3-6 month size

All of my colors are neutral, because we don't know if we are having a boy or girl.  But if you know then you can have lots of fun with them.  I'll probably make more after the baby is born with fun colors for a boy or girl.

Outside booties are 3-6 months and inside grey booties are 6-12 months.

Sunday, August 15, 2010

Bowtie Baby Hat


Well, I'm about to have another niece in about a month.  So, it is baby-knitting season at my house! I love this Baby Bowtie pattern and it can be found here for free.  The only changes I have made are that instead of the first few rows in garter stitch, I changed it to stockinette stitch so that it will roll up and make a cute brim.  The wrong side of the stockinette stitch is what you see rolled up as the brim.  I also used circular needles instead of DPNs.


Thursday, August 5, 2010

Winter Cable Hat


As promised, here is the hat that I've been working on.  I just finished it.  This is a really simple cable hat that can be made smaller by using smaller needles.

Yarn:  Lion Brand Yarn, Vanna's Choice (1 skein), (401) Grey Marble, 92% Acrylic and 8% Rayon, machine washable and dry-able, this yarn is gray tweed with flecks of white, brown, and black.

Gauge: 

Needles: 5.5 mm circular needles

Pattern:

Cast on 108 sts.

Join work and mark rounds.
Work (K2, P2)* ribbing for 9 rounds.

Work (K2, P2, K6, P2)* for 5 rounds.

Work, (K2, P2, CB6, P2)* for 1 rounds.

Work (K2, P2, K6, P2)* for 8 rounds.

Work (K2, P2, CB6, P2)* for 1 rounds.

Work (K2, P2, K6, P2)* for 8 rounds.

Work (K2, P2, CB6, P2)* for 1 rounds.

Work (K2, P2, K6, P2)* for 3 rounds.


Decreasing Starts:

Work (K2tog, P2, K6, P2)* for 1 round.

Work (K2, P2, K6, P2)* for 1 round.

Work (K1, P2, SSK, K2, K2tog, P2)* for 1 round.

Work (K1, P2, CB4, P2)*

Work (K1, P2, K4, P2)* 1 round.

Work (K1, P2tog, K4, P2tog)* for 1 round.

Work (K1, P1, K4, P1)* for 3 rounds.

Work (P2tog, K4, P1)* for 1 round.

Work P1 (CB4, P2)*P1 for 1 round.

Work P1 (K4, P2)*, K4, P1 for 2 rounds.

Work SL1 (K4, P2tog)* K4, P2tog, last stitch p2tog with first stitch of last round.

Work (K4, P1)* for 2 rounds.

Work (K1, K2tog, K1, P1)* for 1 round.

Work (K3, P1)* for 1 round.

Work (K2tog)* for 1 round.

Work 1 round 18 sts.

Cut yarn, and weave through the remaining ends, pull tight.  Weave in all ends.

CB6:  slip next 3 sts on cable needle and hold in BACK of work, K3 from left needle, K3 from cable needle.

CB4:  slip next 2 sts on cable needle and hold in BACK of work, K2 from left needle, K2 from cable needle.


Enjoy!

Tuesday, August 3, 2010

Moss Stitch Scarf


This is a really fun scarf that has an amazing texture and is really warm.  Plus, the pattern is ridiculously easy, so you will love it!

Yarn:  Lion Brand Yarn Wool-Ease Thick & Quick, 2-ply, (189) Butterscotch, 20% Wool and 80% Acrylic. (1 skein)  It has a super bulky weight that makes it perfect for your warmer patterns.

Gauge:  10 sts/ 4"

Needles:  US Size 13 or 9 mm

Yarn Needle:  You will need a yarn needle to sew in ends.

Pattern:

Cast on 19 sts or an odd number of sts with the (K1, P1)* cast on.
All rows are (K1, P1)*.
Knit till desired number of rows.
Cast off using same pattern when you cast on, a (K1, P1)* cast off.
Cut yarn and sew in all ends using yarn needle.


* = repeat till end of row

The K1, P1 cast on and cast off just adds a fun edge to the scarf, that compliments the moss stitch.